
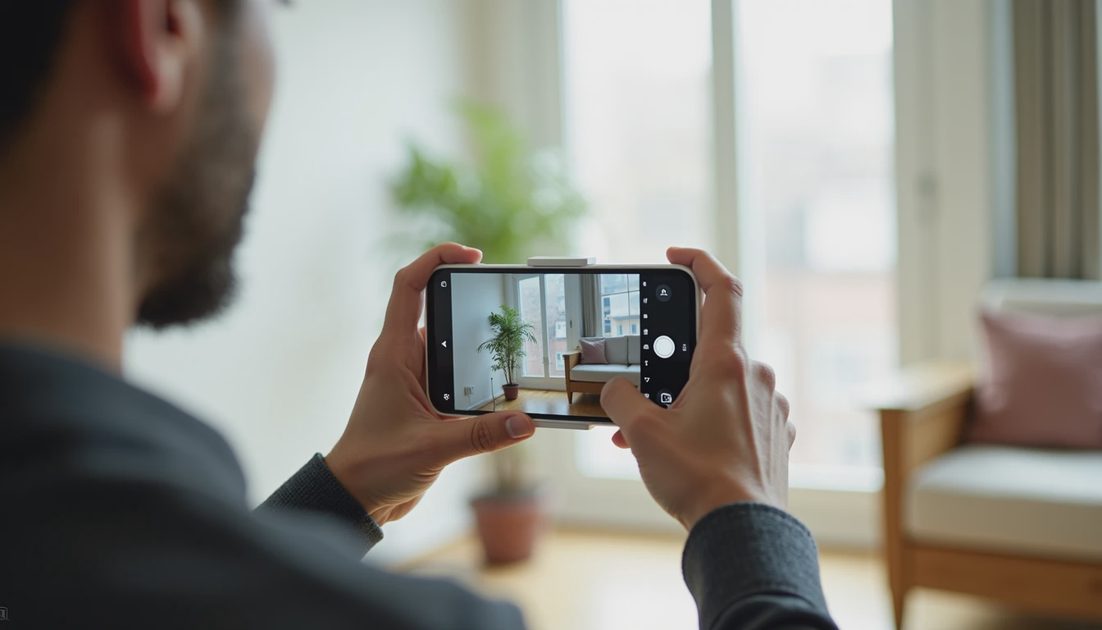
Start with ordinary Photo mode and a manageable video format, then change settings for a specific reason. iPhone 18 Pro offers more control than most everyday pictures require. Turning on every professional option is an easy way to create large files without solving a photographic problem.
My suggested starting point is a camera you can open quickly, frame clearly, and use without remembering yesterday's experiment. Save higher-resolution and specialist formats for situations where you understand the benefit.
This guide uses Apple's camera documentation and model specifications. It does not present sample-image comparisons, a measured autofocus test, or a universal best preset.
ON THIS PAGE
Build a simple starting setup
Match settings to the subject
Choose video deliberately
Control file size and remembered settings
FAQ
Build a simple starting setup
Open Settings, choose Camera, and review the available format and composition options. Labels can vary with the installed iOS release, so use the options actually available on your device rather than following an older screenshot blindly.
Turn on a grid if it helps you keep horizons and building edges straight. Use the level where available to check alignment. Neither tool changes the subject; both make framing more deliberate.
Then decide what the camera should remember. Preserve Settings can keep selected choices between sessions. That is useful for a repeated task and confusing when you forget that a previous mode or adjustment remains active.
I would preserve only the choices you understand and expect to reuse. A reliable default is more valuable than reopening the camera with a surprise.
Before evaluating any setting, clean the exposed camera lenses with an appropriate soft cloth. A fingerprint can produce a visible problem that changing resolution will not fix.
Quick photos: reduce the decisions
For a receipt, a pet resting near a window, or an ordinary outdoor scene, begin with Photo mode. Frame the subject, tap the intended focus area if needed, and check exposure before taking the picture.
If bright areas appear washed out, adjust exposure rather than assuming more megapixels will recover them. Take a second frame after an adjustment so you have an ordinary comparison.
The useful habit is to inspect the result at a sensible size. Ask whether the subject is sharp, the framing works, and the picture communicates what you wanted.
Do not make every routine photograph an experiment in maximum file size. The point of the setup is to make the camera more dependable when something happens quickly.
Indoor people: light first, settings second
Indoor photographs often combine limited light with people who move. A longer capture can help a static room while making a moving face harder to capture cleanly.
Move toward better available light when possible. Avoid placing the brightest window directly behind the person unless that is the effect you want. A small change in position can matter more than changing a format.
Check whether Night mode or another longer capture is active. Keep the phone stable when using it, and remember that stabilizing your hands does not stop the subject from moving.
Portrait effects are creative choices, not mandatory improvements. Inspect hair, glasses, and complicated edges before assuming a simulated background blur is the version you should keep.
Moving subjects: capture the moment
For a child running or a pet turning suddenly, prioritize timing and usable light. A technically ambitious format is not helpful if it makes you hesitate while the moment passes.
Burst can give you several frames from an action. Follow the Camera settings and shutter gesture described for your installed version, then review the sequence and keep the useful pictures.
Situation | Start by checking | Avoid assuming |
|---|---|---|
Quick everyday photo | Framing, focus, exposure | Maximum resolution is always necessary |
Indoor person | Light and subject movement | A steady phone guarantees a sharp face |
Fast action | Timing and burst options | One press will catch the ideal expression |
Small distant subject | Lens choice and actual detail | More digital zoom creates missing detail |
I would practice a burst gesture before relying on it at an event. That is a preparation suggestion, not a claim that I tested a particular success rate.
Choose video deliberately
Review Record Video in Camera settings. Resolution and frame rate affect detail, motion appearance, storage, and sharing requirements.
For routine clips, start with a format your storage and sharing workflow can comfortably handle. Consider 4K when the extra detail is useful, and consider a higher frame rate when the motion requirement justifies it.
There is no single setting that wins every tradeoff. Higher frame rates can demand more light; larger files take more room and longer to move.
Before recording something important, take a short sample, play it with sound, and check that the framing, audio, and file behavior suit the destination. Do this with the actual app or service you plan to use.
A specialized recording mode can introduce its own crop or limitations. Read the on-screen information instead of treating every mode as a free upgrade.
Professional controls need a purpose
The iPhone 18 Pro's variable-aperture camera and advanced formats expand the available choices. They do not remove the need to understand light, movement, and file handling.
ProRAW is useful when you intend to perform a compatible editing workflow. It is not a switch that guarantees a better-looking casual snapshot. ProRes similarly belongs to a video workflow with suitable storage and editing support.
I would leave those formats off for routine use unless you have a reason to accept their demands. Check the space estimate and available capacity before enabling a larger format for an extended session.
The cost is not only storage. It is also the time needed to organize, transfer, edit, and share the result.
Keep a small settings note
Write down your normal photo mode, video format, and which options are preserved. If you change something for an event, note what you changed and restore the ordinary setup afterward.
That is more useful than copying a stranger's long “best settings” list without knowing what each change does.
FAQ
Should I always use the highest-resolution option?
No. Use it when the detail serves a purpose and the file size fits your workflow.
Will a professional format fix poor lighting?
No. It can offer editing flexibility, but it cannot replace a suitable scene or stop a moving subject.
What is the first thing to change after a disappointing photo?
Identify the problem. Blur, exposure, framing, and insufficient detail call for different responses. Change the cause rather than every setting at once.